YouTube is a great option because it’s free and you can download the caption text file to use with your video. You can import the caption text file into an app to burn in your captions for open captions.
This tutorial assumes you’ve uploaded your video to YouTube.
Now, which option do you want to do?
- Edit automatic captions aka autocraptions.
- Copy and paste a script and set timings.
- Enter the captions manually.
- Upload a caption file.
Edit Automatic Captions
When you upload your video to YouTube, it takes time for it to generate automatic captions. How quickly depends on different variables. So, keep checking until you see them show up.
After YouTube creates automatic captions, you have a caption file you can download to use. However, it still needs editing. You could edit the file in a text editor or follow these steps. A text editor is faster, but the timing isn’t going to be as accurate.
Here’s a faster approach:
- Edit the timings in YouTube.
- Break up long lines of captions by hitting Enter where you want to break it. (32 characters per line, up to two lines.)
- Publish the edited captions.
- Download the caption file (typically, you want SRT).
- Open the caption file in a text editor.
- Edit the text and save the file.
- Upload the file in YouTube to replace the automatic captions.
Here’s the video tutorial:
1. Go to https://studio.youtube.com/.
2. Select Transcriptions Subtitles.

3. Select the arrow under Language for the video you want to caption.

4. Select Published by English (Automatic). (Your language may be different.)

5. Select Edit.

6. Play the video and edit the text until the captions are correct. (Use SHIFT+ENTER to move a line of captions to a second line to make them more even.)

7. Play the video and move the sliders to synchronize the text with the video.

8. Select Publish edits.

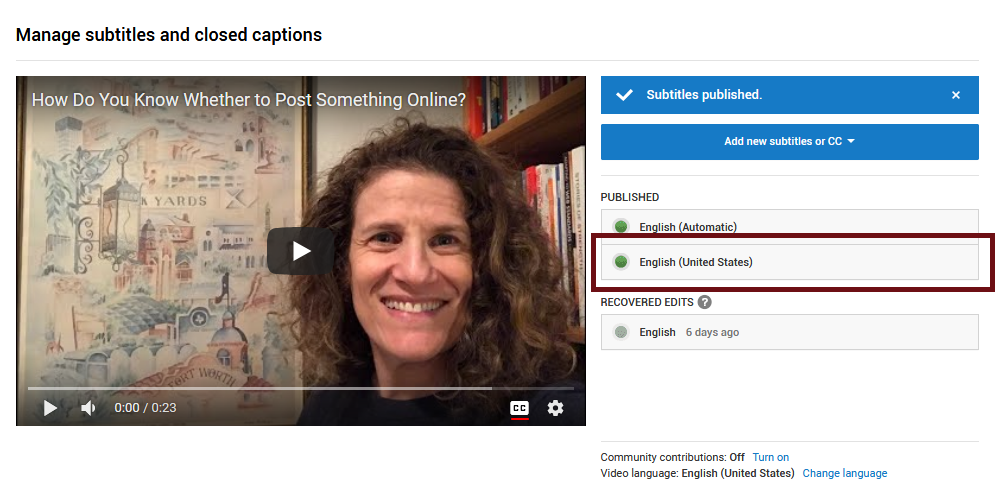
9. Select the item under Published. This example: English (United States).
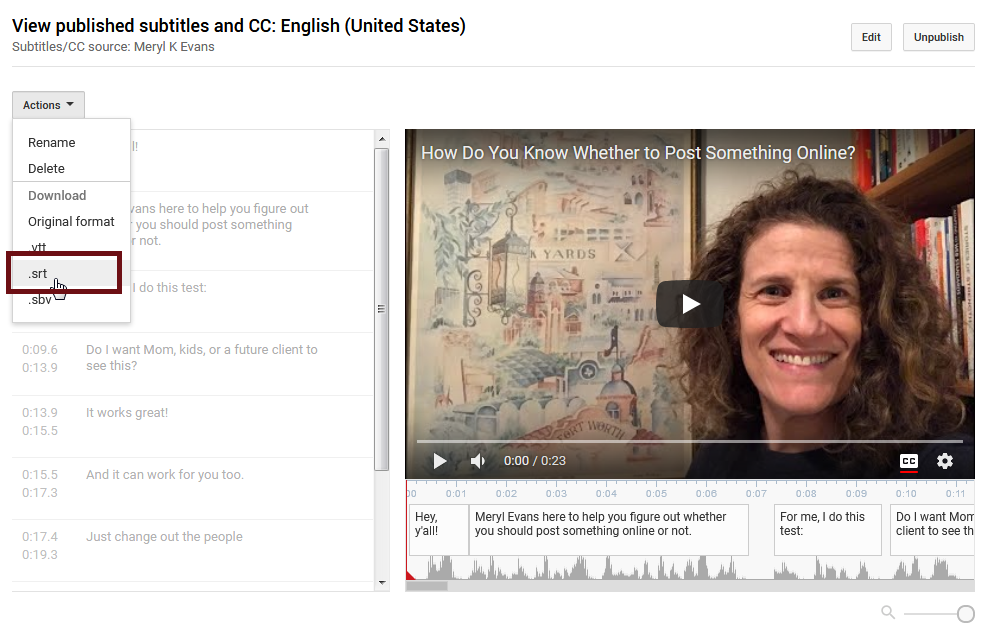
10. Select Actions > .srt to download the caption file.
11. Open the SRT file in any text editor like Notepad or TextEdit and delete the extra lines.

If you upload it to LinkedIn, you may get an .SRT file error. That’s why you want to erase the extra lines.
When you upload a video, the service will have an option for uploading the caption file. The .SRT is your caption file.
Use Auto-sync
If you have a script or transcript, you can copy and paste it into YouTube using the Auto-sync feature in its Subtitles tool. The transcript does not need to have timings.
Here’s the video tutorial on how to use Auto-sync to copy and paste a transcript.
Enter captions manually
With this option, you enter all the text while you watch the video. It’s the most time-consuming method of the three.
Upload a caption file
If you already have a caption file like an SRT or VTT file, you can upload it with the video. While these steps are for YouTube, this is the sort of thing you’ll need to do on other social networks.
Want More Content Like This?
Did you like this content? Would you like to know when the next post comes out? Sign up to receive piping hot content you can use.
1 thought on “How to Caption Videos with YouTube”
Comments are closed.